Automated Builds of Kerberos.NET Using Visual Studio Online
The next logical step for the Kerberos.NET project is setting up automated builds and releases. What exactly does this entail? Basically, I want a build to kick off any time changes are committed to the main repo, and automatically generate a production-ready Nuget package that is available to upload if deemed worthy of release.
If you’ve done any sort of build automation or release management before, you’ve got a pretty good idea of how to make this work. For a given build service do the following:
- Observe changes to repo
- Pull down changes
- Build project(s)
- Package the packages
- Artifact the necessary files for future release
And if you’re really wanting to be fancy:
- Push packages to nuget repository on release signal
I chose to use Visual Studio Online to do this for me. I can use hosted build agents to build and package the project without a ton of effort. This is how I did it.
First, you need to have a Visual Studio Online account. If you don’t have one, go set one up. It’s easy.
Next, you need to create a new Team Project. Give it a name, select the Version Control and Work Item types. You can leave these as the defaults unless you have specific reasons to use the other options. The options don’t matter at all if you’re using Github because you’ll never commit or track work here.
Now you need to wire it into Github to track changes. Select the gear icon at the top to get into the project settings and select the Services tab.
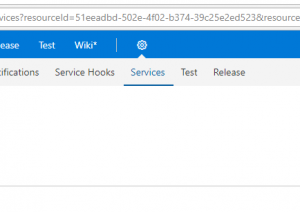
Select the Services Tab
Add a new Service Endpoint and select Github:

Select Github
Now you can configure which account to connect to Github as. Just select the Authorize button and you’ll see a popup asking to be… authorized. There are more advanced options to configure if you’re specifying things like personal access tokens too. Your browser may block the Authorize pop up window. You’ll need to allow the pop up before it’ll allow you to continue.
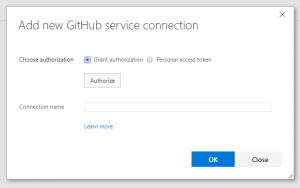
Authorize Github
Now you can start configuring the build. Select the Builds and Releases tab and click the New button.
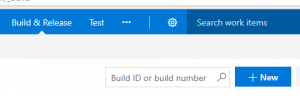
Add a New Build
And now you need to select a build template. We’re now building a .NET Core project in the case of Kerberos.NET, so you can start with an empty process or select the ASP.NET Core template.
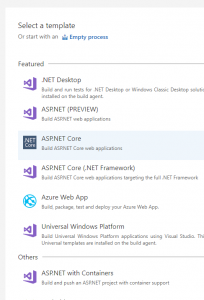
Select your Build Template
Next you’ll want to configure the Get sources step, which will checkout changes to the repo. You need to select the Github tab. It’ll automatically populate the fields because you previously registered Github as a service. Select which repository you want to use and configure branches or other settings.
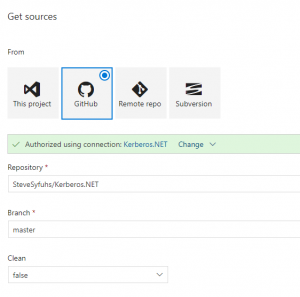
Configure Get Sources
Next you’ll need to configure the Restore/Build/Test/Publish steps. By default these steps are configured as .NET Core 1.*, which in our case is incorrect. We need to use .NET Core 2.0.
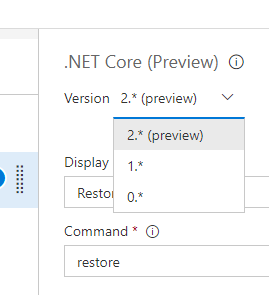
Select .NET Core 2.*
You’ll need to do this for the 4 steps. You can probably leave all the other settings alone and the system will just pick up any projects it needs to build or test — assuming you’ve got tests.
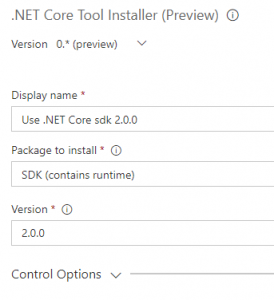
One thing I’d recommend you do is also add the new task before the restore or build called the “.NET Core Tool Installer”.
Add .NET Tools Installer
The reason for this is that it’ll download and install any runtimes or SDKs for any future versions of .NET that haven’t been added to the build agents yet. This isn’t strictly necessary, but it may save you some headaches in the future (or in the past, in my case, because the 2.* versions weren’t available when I originally set this up).
Install .NET Builds
From there you can configure the build/test/publish steps as necessary. Once you think you’re in a good spot go ahead and queue it up:
Save and Queue the build
You’ll be asked which queue to use. You’ll want the Hosted VS2017 agent in this case because of .NET Core 2.0.
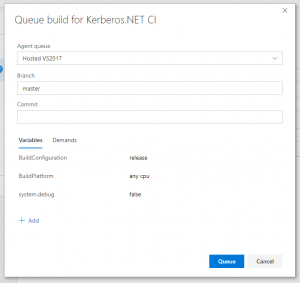
Queue the Build
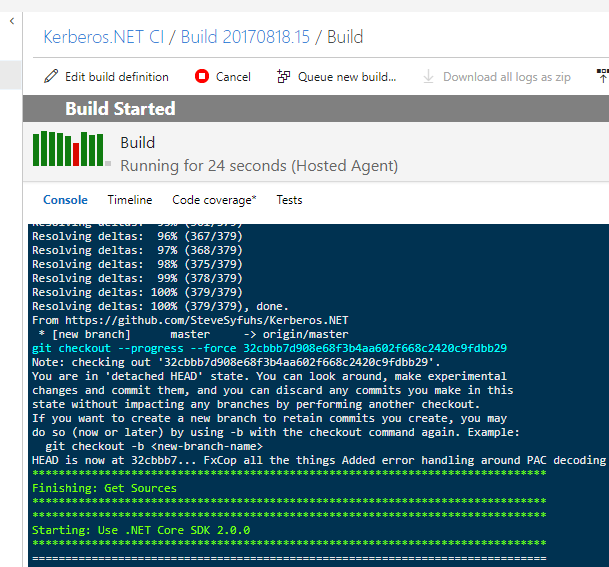
The build should then kick off with and you can track the results based on the console output or the logs. You can see there’s been some, uh, trial-and-error.
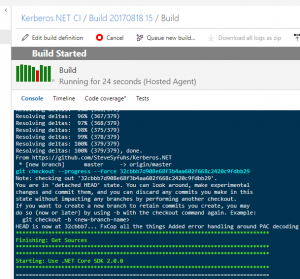
Build Build Build.
Once you’ve got a working build you can start configuring how you want it to kick off through the Triggers mechanism.
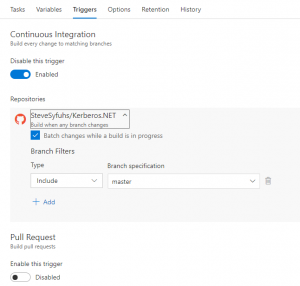
Trigger on Commit
In this case trigger when there are changes to the master branch. The Pull Requests option is super-handy when you’re working with teams and actually use PRs — there’s only been one PR with Kerberos.NET, and that was before builds were set up. You should consider committing to the project!
Once your build is ready to go you can even badge it to see the most recent build status easily:
Badge the Build
And now you have can embed the status wherever you want:
![]()
Next time we can look at automatically publishing.